You have 2 options for operating the LNBits wallet.
- Installing your own instance of LNBits on your node
- Use the publicly available Beta version at https://demo.lnbits.com
We will show the use of the 2nd option.
WARNING! It is dangerous to have a large amount of money on the Public Beta.
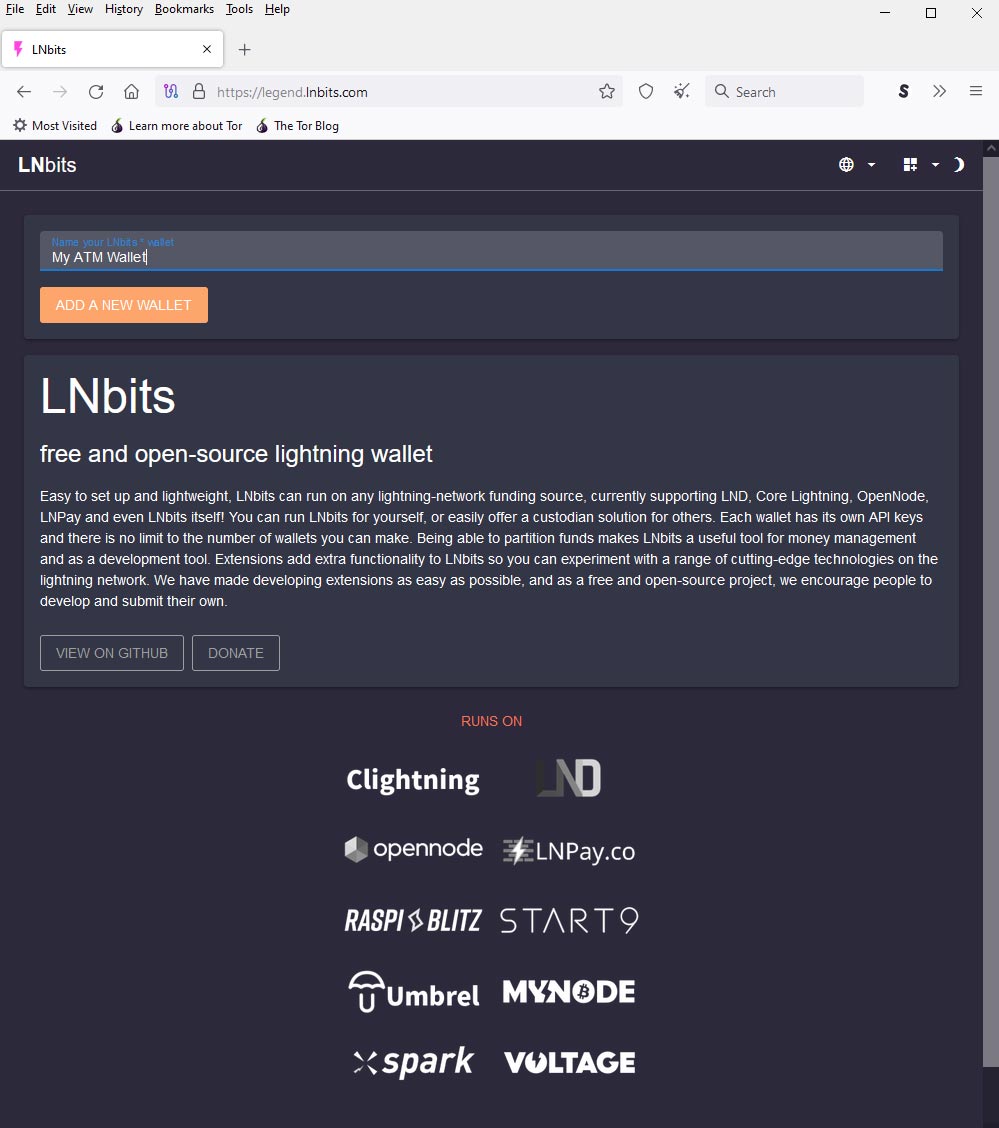
Create your wallet #
Go to https://demo.lnbits.com and create a wallet:
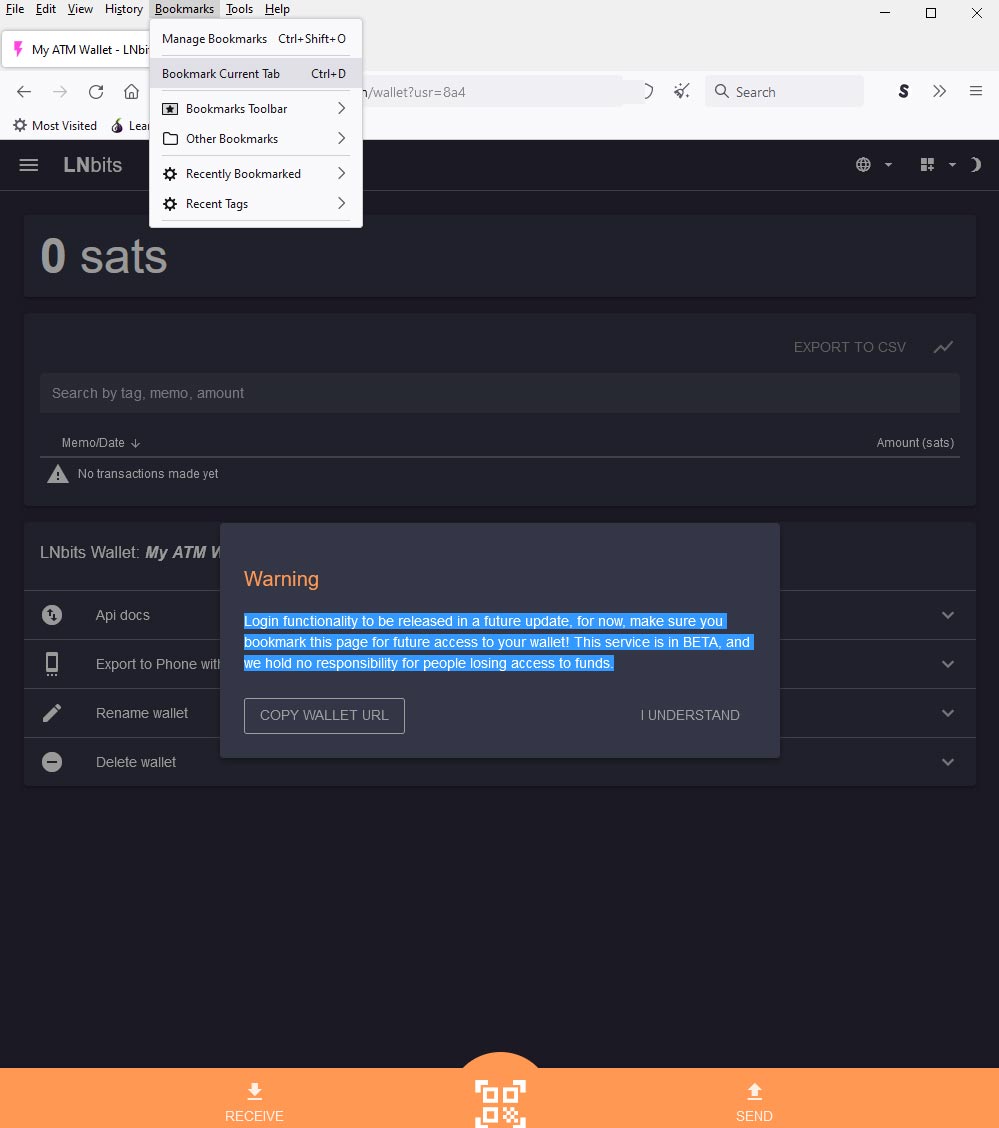
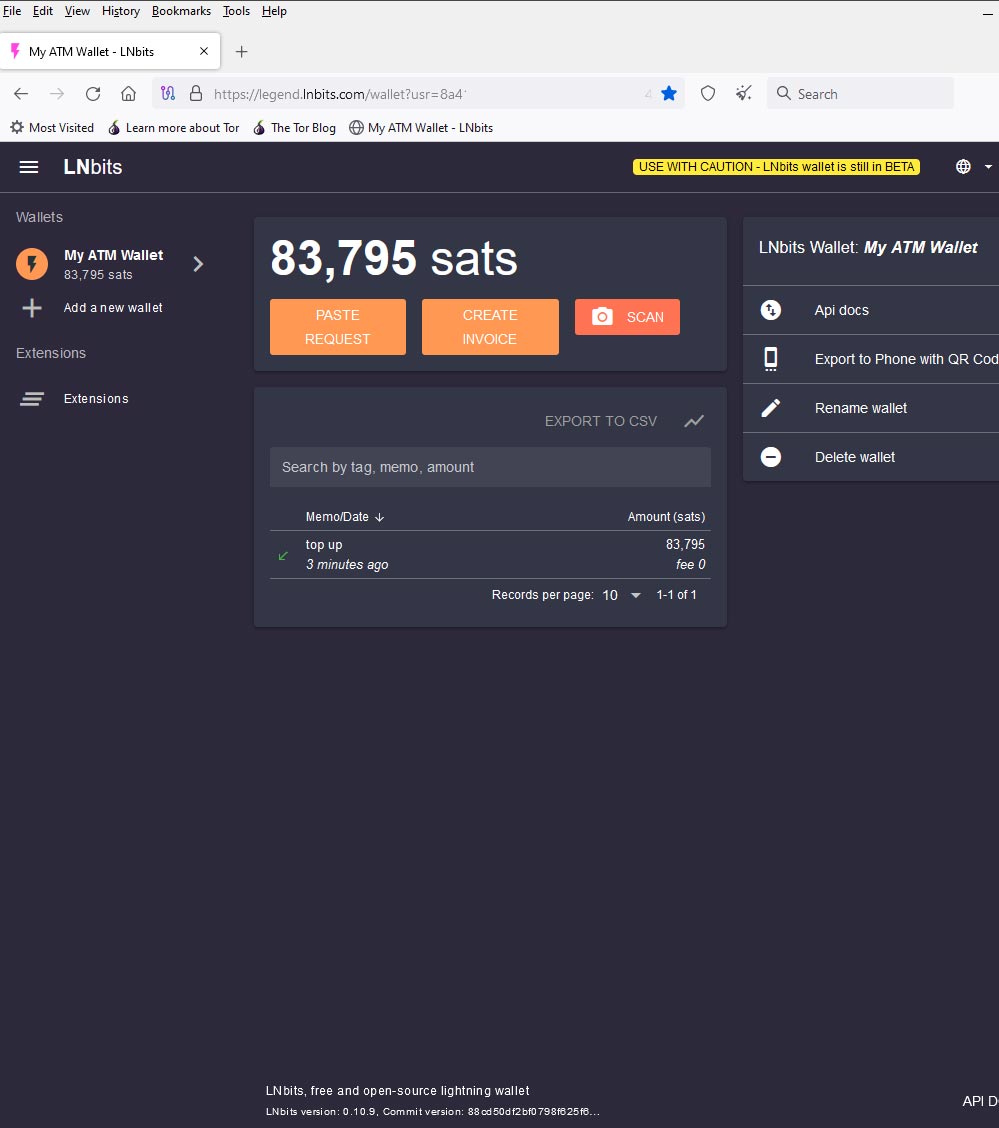
After creating the wallet, you will see a notification:
Login functionality to be released in a future update, for now, make sure you bookmark this page for future access to your wallet! This service is in BETA, and we hold no responsibility for people losing access to funds.
This address is the only access to your wallet. If you lose it, you will never get your funds back.
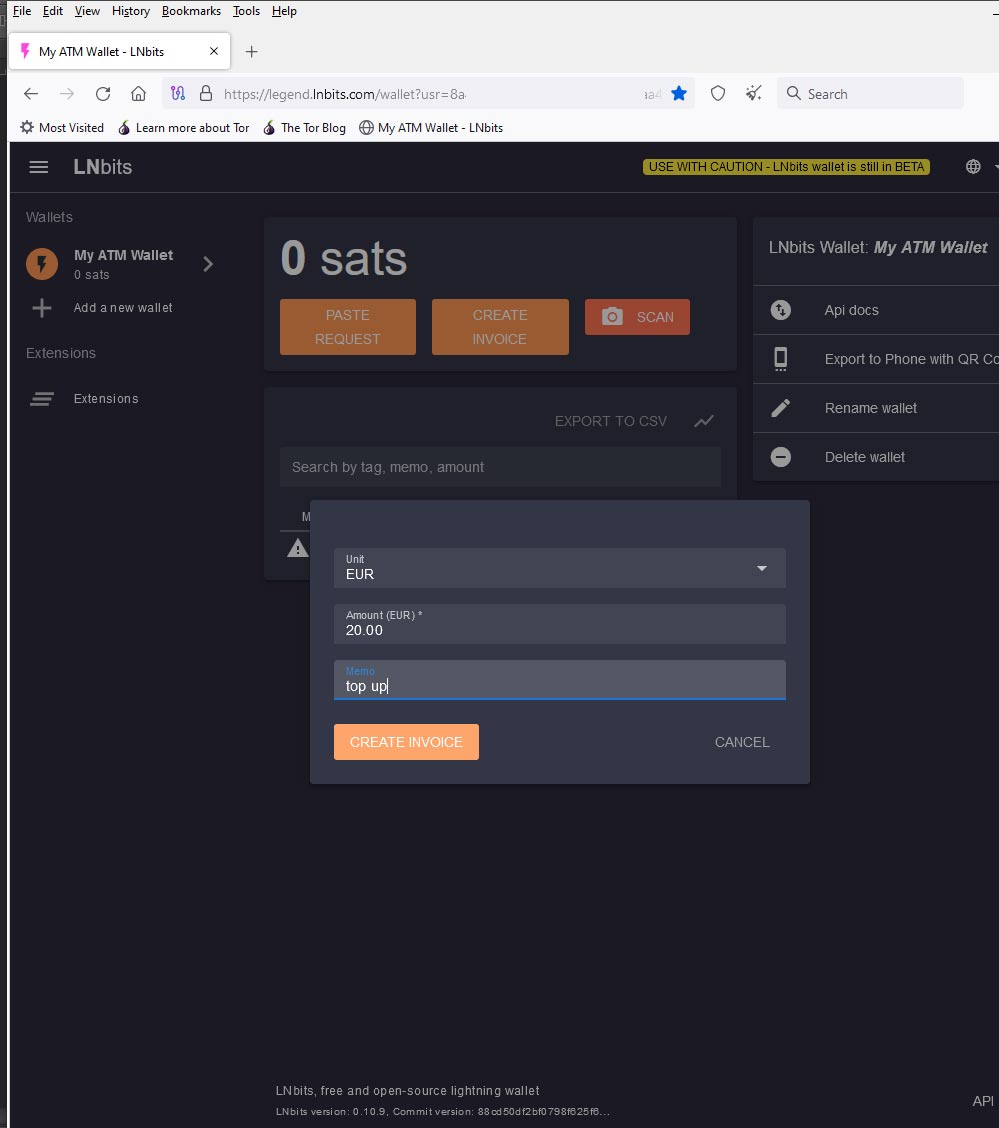
Ad funds to your wallet #
Now you have to send some satoshi to this wallet. Click on “Create Invoice”. Fill in “Unit”, “Amout” and confirm.
You will see a QR code that you scan with a mobile wallet (Phoenix, Breez, …) and send.
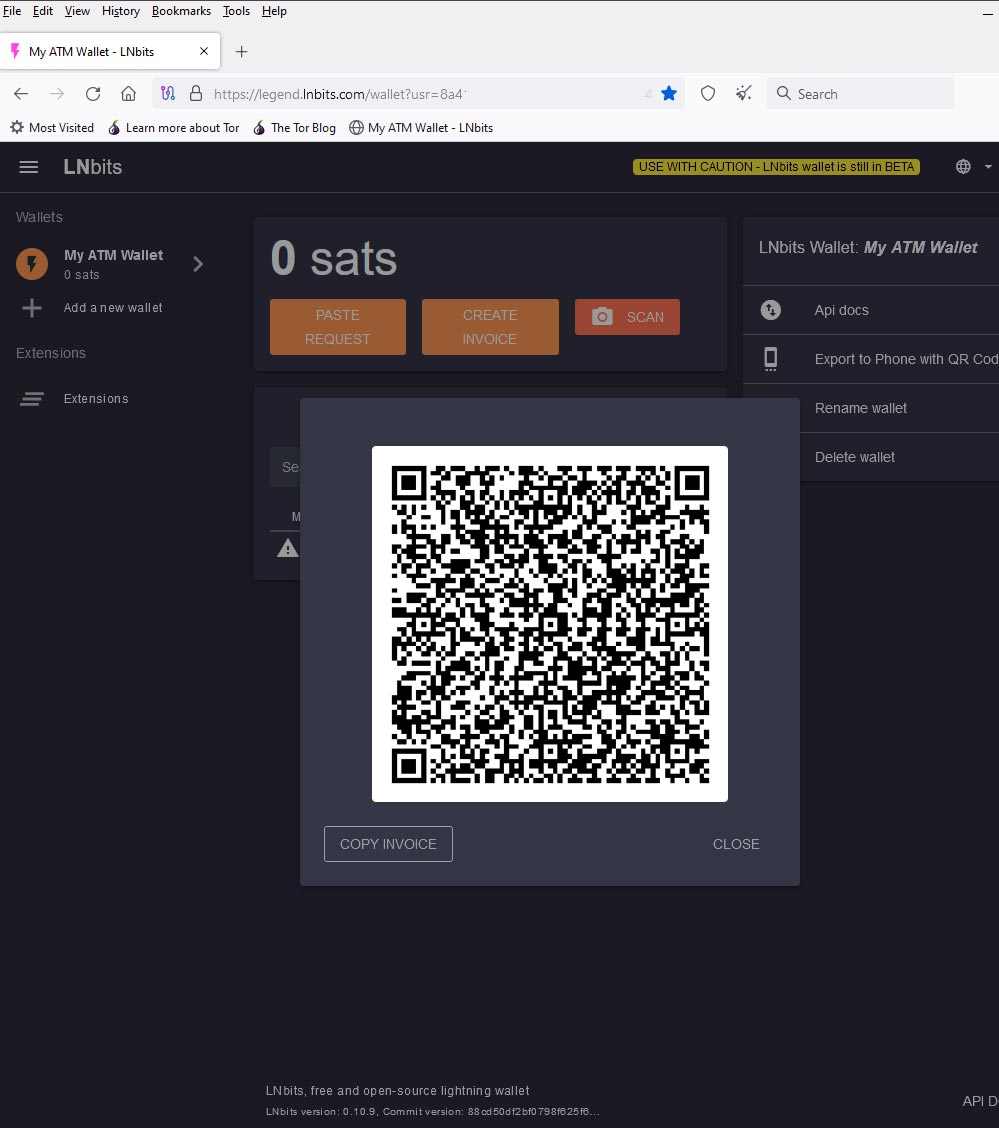
After a successful payment, refresh the page and there should be a positive balance in your LNbits wallet.
Install extensions #
Now that your wallet is “charged”, we will install the necessary extensions. Click on “Extensions” -> “All” and look for an extension called “withdraw”. Click on “Enable”
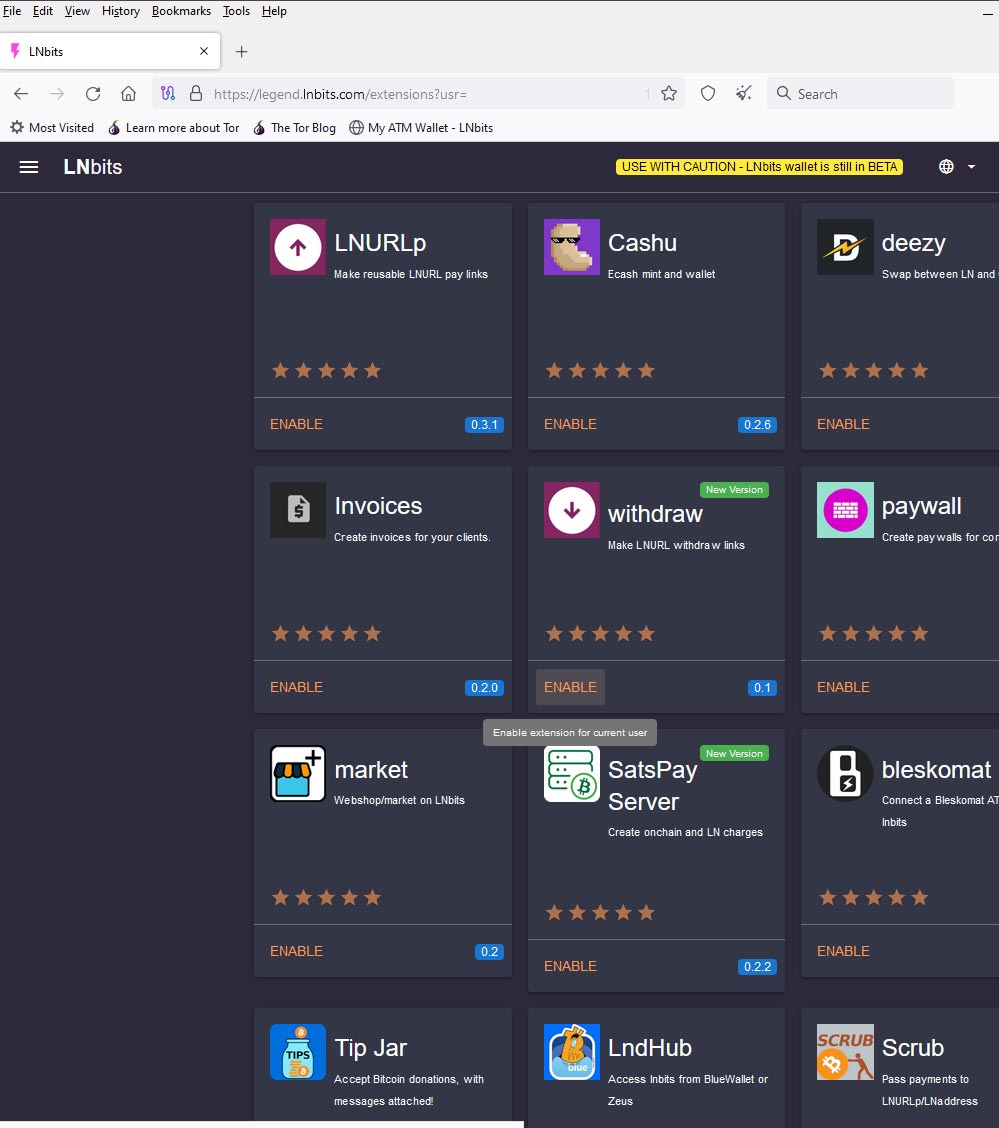
The second extension is called “LNURLDevice”. Also enable it.
Now you have 2 extensions in the left column/menu. Let’s set them up:
LNURLDevice -> New LNURLDevice instance
Set a name for the device, choose a wallet, currency and fee in %. Don’t forget to select “ATM” from the radio boxes.
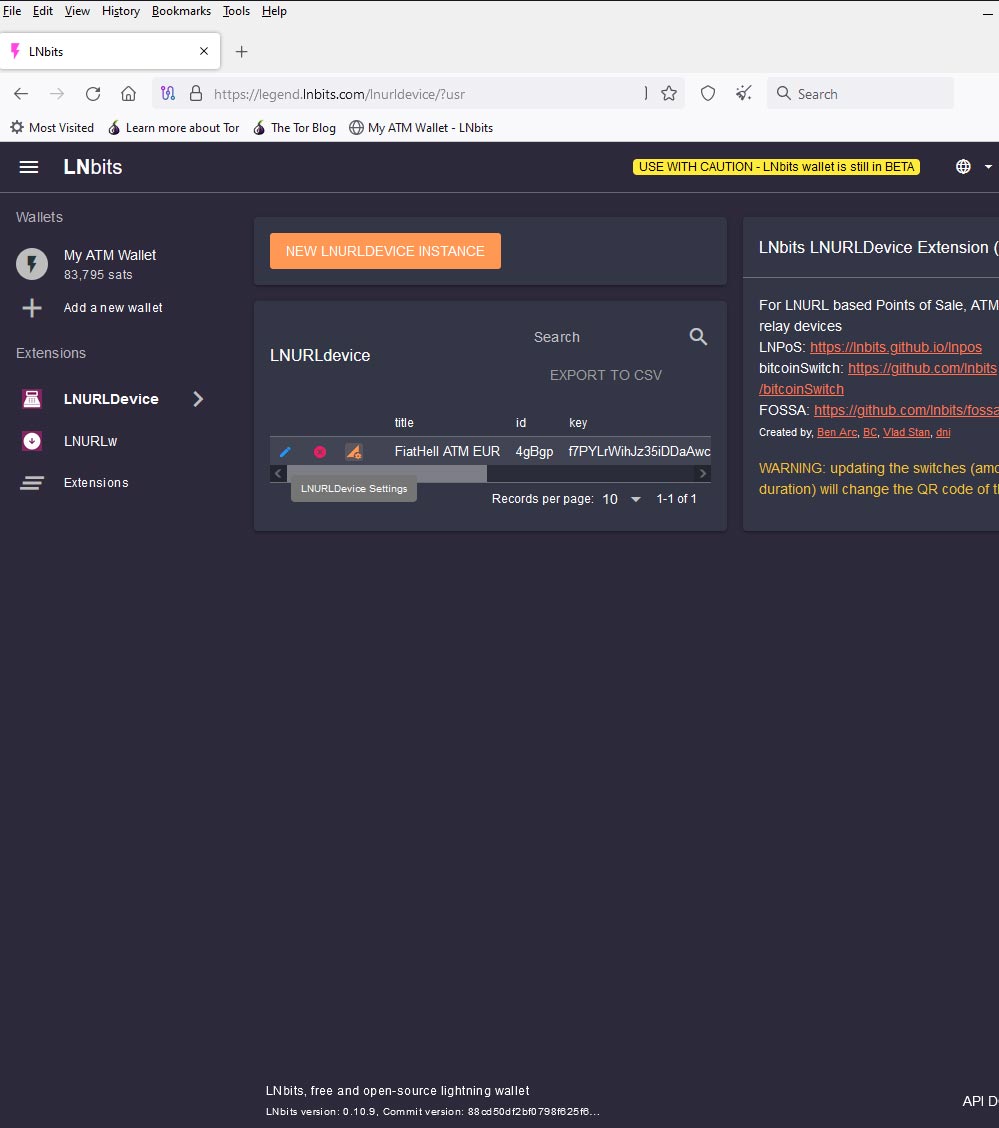
Now you have a device created and ready to use.


